How to Sharpen an Axe
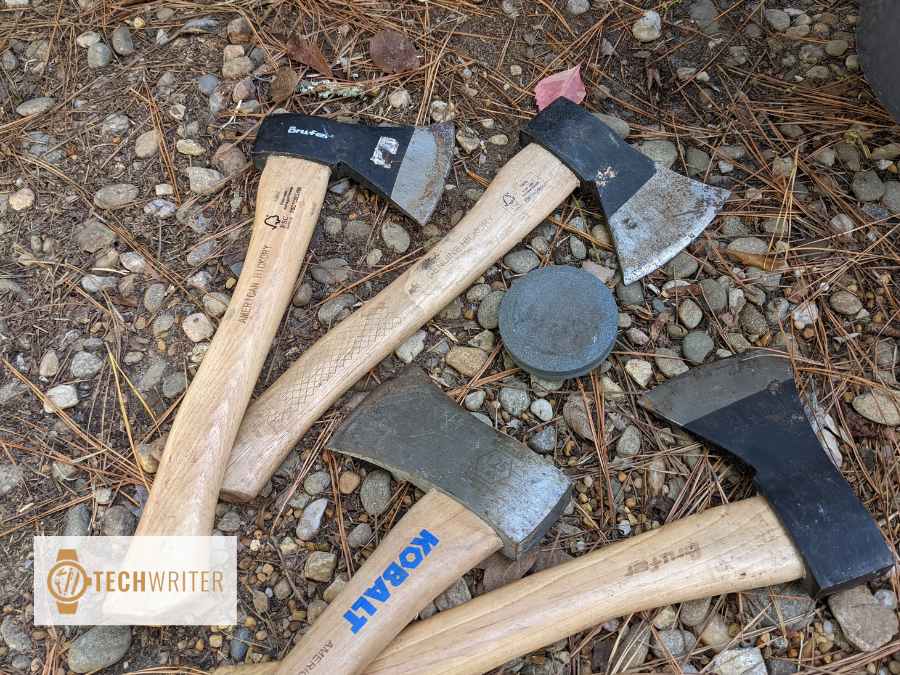
A good axe can, and should, last you a lifetime with proper care and maintenance. But all too often, axes get used and abused to the point that they need some major TLC to get back into chopping shape.
But not today. Today we’re going to take some time to learn how to properly sharpen an axe, so your trusty splitter will always have a working edge. Hand-sharpening an axe or hatchet is fairly simple, but there’s a technique to it that requires a bit of time and patience to master.
Even so, there’s no reason why even a first-timer can’t learn this essential skill. At its most basic, sharpening an axe simply involves removing a small amount of material from the blade to create a new sharp edge.
Disclaimer: as with any task that involves sharp objects, sharpening an axe requires caution and common sense. The idea is to remove material from the axe, not from your fingers.
How Sharp Should an Axe Be?
We could easily get lost in the sauce debating how sharp an axe is supposed to be. The easy answer is, “sharp enough to cut wood.”
Some self-appointed internet gurus will tell you that an axe should be sharp enough to shave with, which is nonsense. Others might say that an axe doesn’t really need to be all that sharp at all, which isn’t exactly true either.
Ultimately, a sharp axe is a safe axe. A dull axe can bounce off its target, which is very dangerous. The bottom line is, you want your axe to have a keen enough edge to be safe and effective, but you don’t need to get too caught up in trying to make it razor-sharp.
Also worth mentioning is that, in general, hatchets can be sharpened a little more finely than axes. An axe is a heavy tool that is used with a two-handed swing to split logs with great force. A hatchet is often used for finer tasks like whittling, splitting, kindling, and creating wood shavings, so it’s okay to labor over its edge a little more.
What Tools Do You Need?
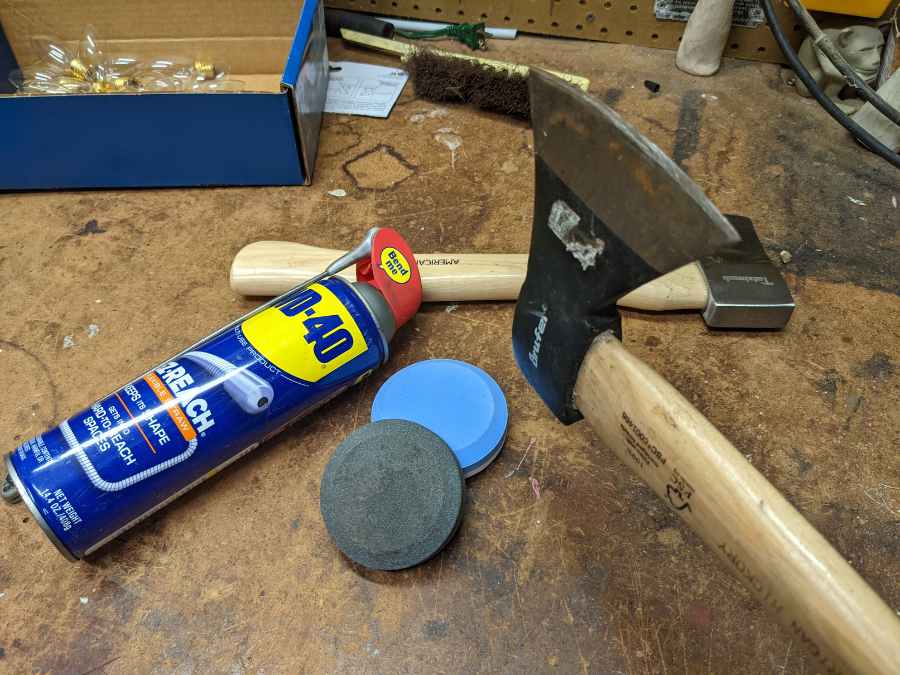
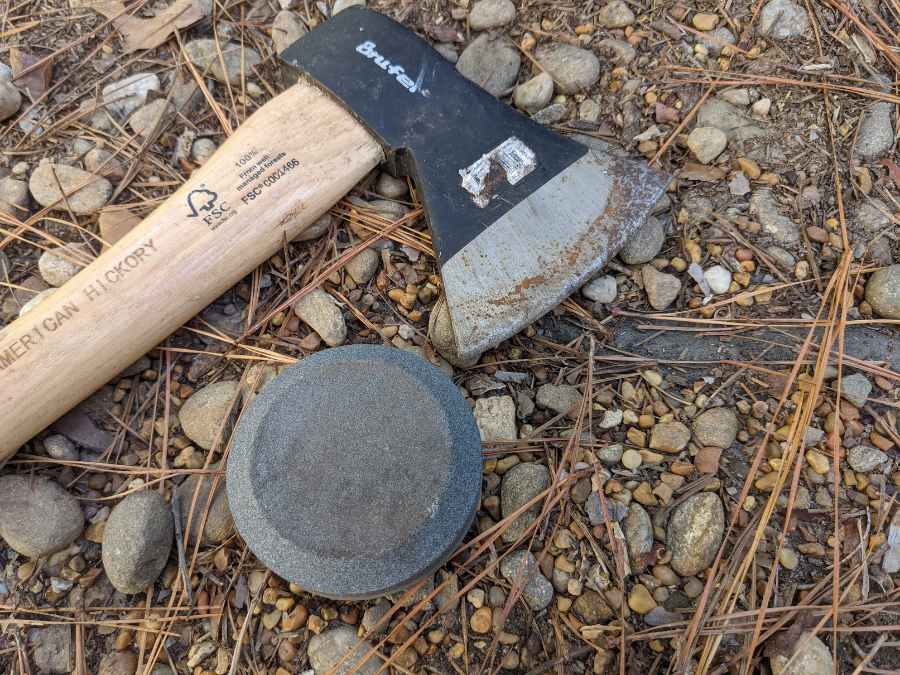
There are different methods of axe sharpening that utilize various grinders, sanders, files, whetstones, strops and so on. They can all be effective, but I believe this to be true: if your axe is reasonably well maintained, you can sharpen it with nothing but a handheld sharpening stone. My stone of choice is a Lansky Puck dual-grit multipurpose sharpener.
If your axe is exceptionally old, worn or mistreated—let’s say you found an old, rusty axe in a barn somewhere, and it hasn’t seen a sharpening stone in decades—that’s another story. In cases like that, it makes sense to start with a grinder or belt sander to remove deep dents and dings, and re-establish a grind with a file before getting into the method outlined below.
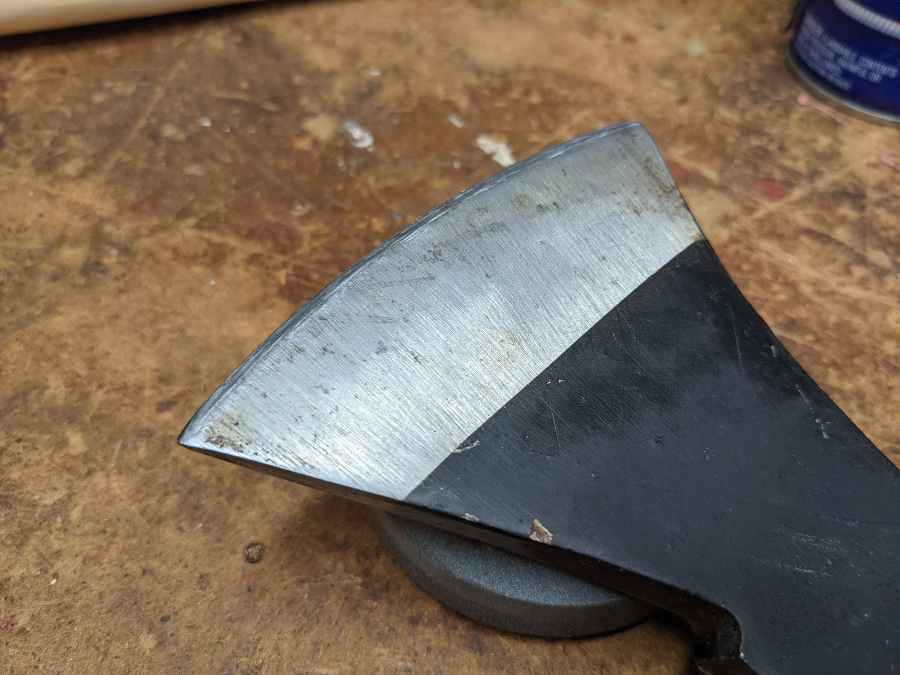
Identifying the Grind
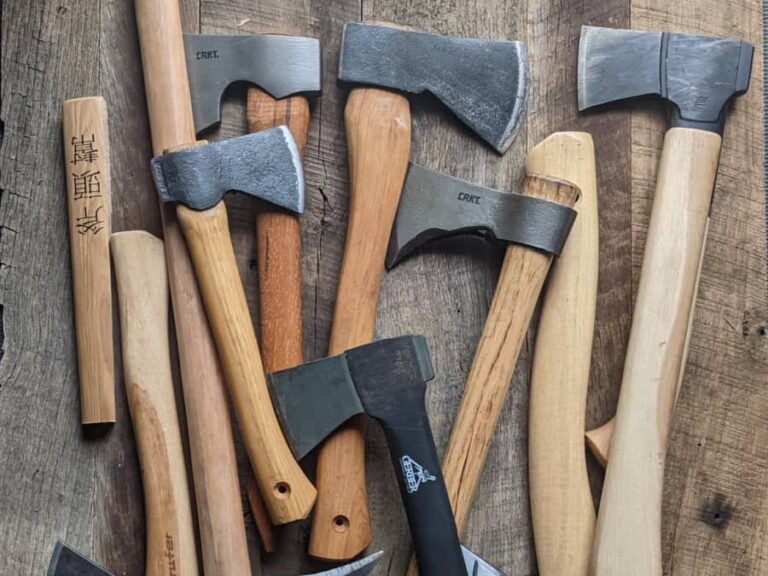
Take a look at the cutting edge of your axe and take note of how it’s ground. Most modern axes have a subtle convex grind, though some may have a more pronounced convex grind. Flat ground axes are rarer, but some hatchets, especially those intended for carving/shaving may have a flat grind.
In most cases, you’ll want to maintain the original bevel of the axe when you sharpen it. Axes almost always have a 50/50 grind, which means they are ground evenly on both sides.
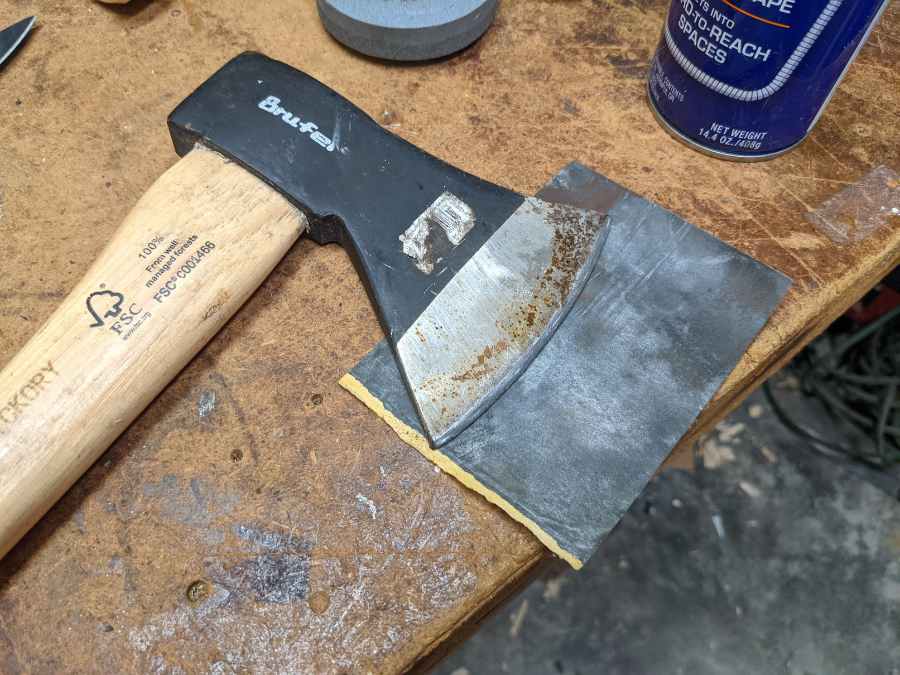
Stabilizing the Axe
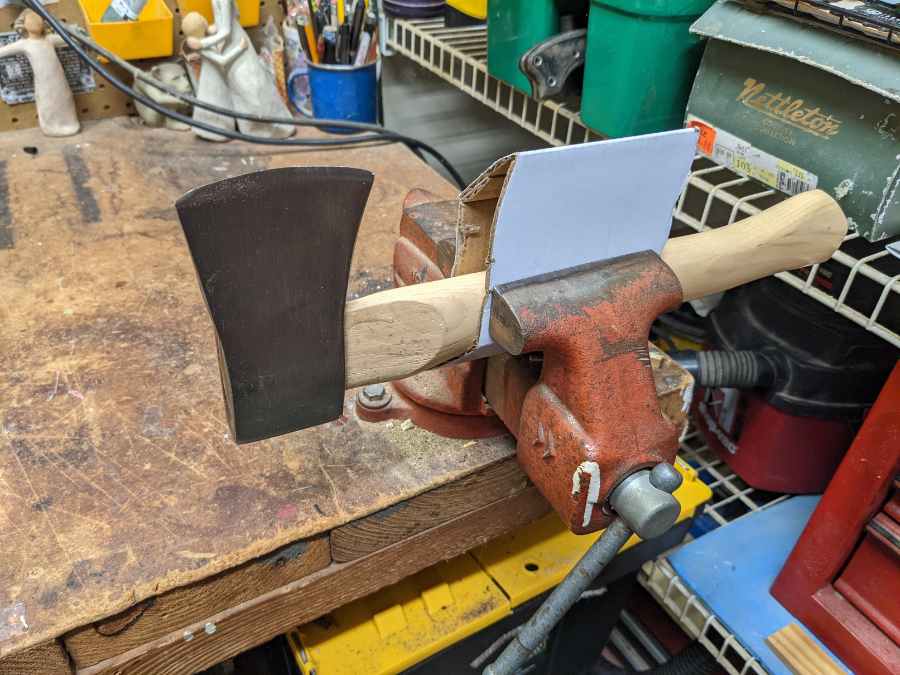
Step one is securing your axe in a stable position. The best way to do this is with a bench vise, but if you don’t have one, C-clamps will work. In either case, use a soft material like cloth to keep the jaws of your vice or clamps from damaging the wood haft of your axe.
Position your axe horizontally, with the blade parallel to your workbench and the cutting edge facing you. To make sharpening easier, the blade should be about halfway over the edge of the bench.
If you don’t have any means of securing your axe in place, you can also sharpen it while holding the axe in your hands. This may also be necessary if you need to sharpen your axe while out in the field.
To do so, hold the axe in your non-dominant hand with the cutting edge pointed upward, and the haft either secured under your arm or resting on your shoulder (whichever is more comfortable). This method is a little more difficult with short-handled hatchets than with full-length axes.
Once you have your axe in place, you’re ready to begin. It’s highly advisable that you wear gloves from this point forward, especially if you’re using the handheld method. Wear gloves that are thick enough to provide protection from nicks and cuts, but not so bulky as to impede hand motion.
Sharpening Your Axe
With your axe firmly in place, you’re ready to start sharpening. Most sharpening stones work best when moistened slightly with either water or honing oil. Moisten the surface of the stone with water, or apply a few drops of oil to the surface (never use both on the same stone). If you’re using water, have more handy so you can re-wet the stone as needed.
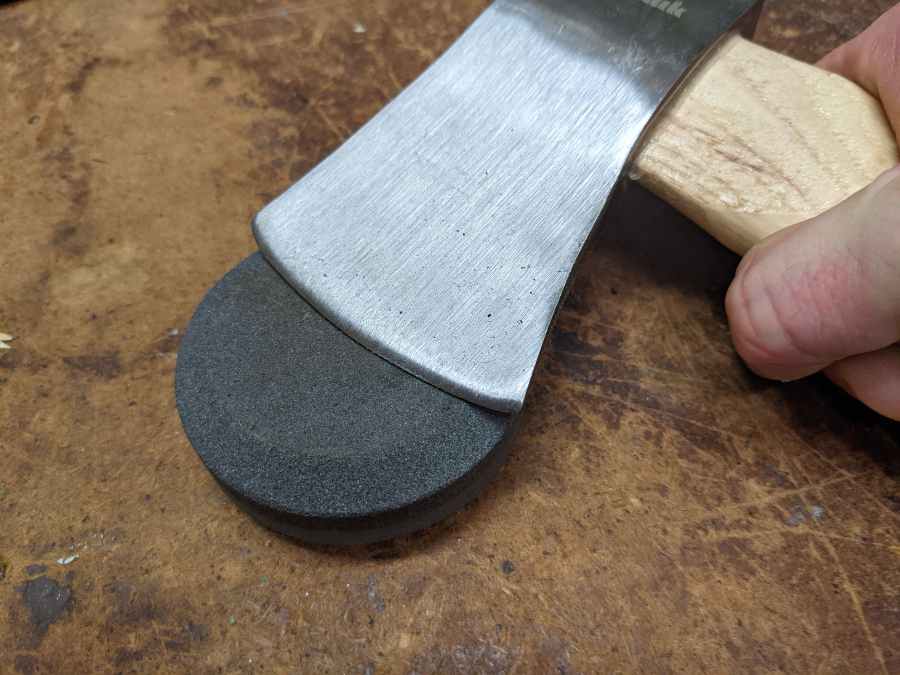
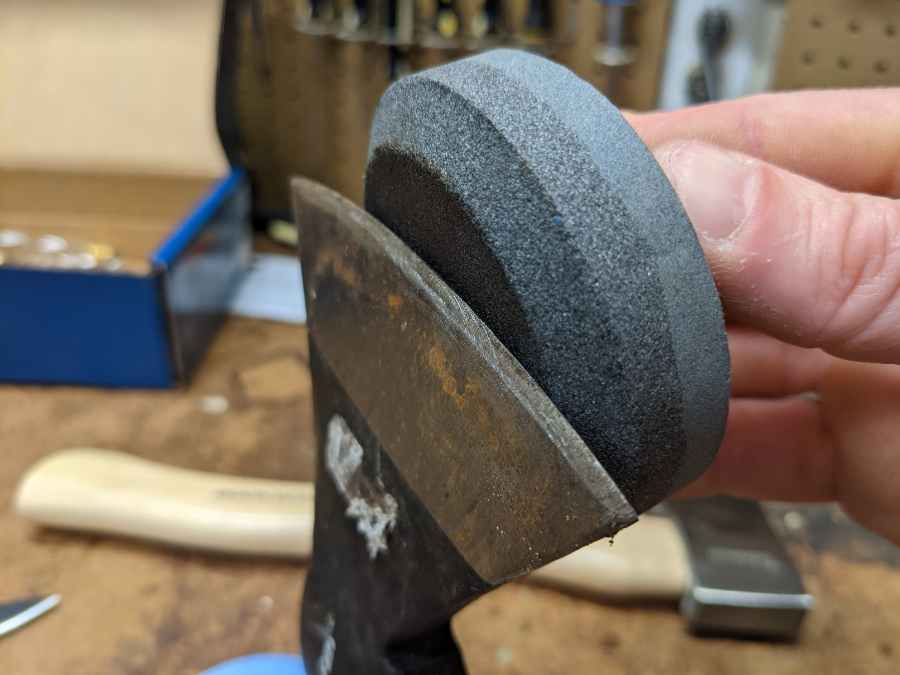
Grasp the stone in your dominant hand between your thumb and fingers, with the flat surface of the stone supported by your palm. If you’re using a dual-grit stone such as a Lansky Puck or similar two-sided handheld sharpening stone, start with the coarser side first.
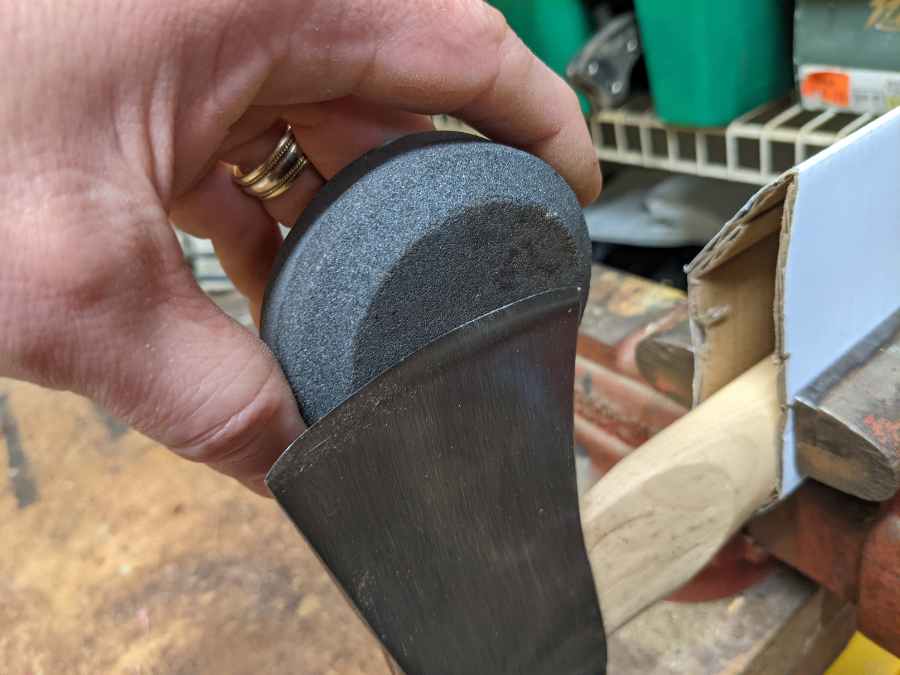
Move the stone along the length of the blade in a continuous circular motion. If your axe has a flat grind, keep the stone flat along the bevel. If it has a convex grind, continuously adjust the angle to make sure you’re grinding the whole bevel. This is something you get a feel for over time.
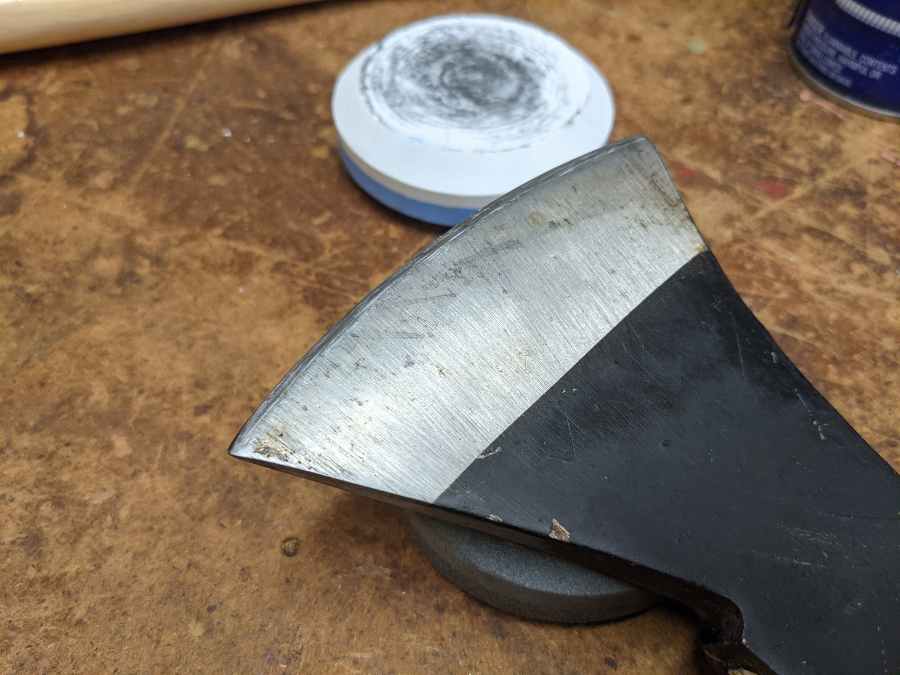
It’s also important to make sure the sharpening stone passes beyond the cutting edge with each stroke, so you’re actually sharpening the axe and not just sanding down the bevel. A common trick to make sure you’re getting the whole edge is to color it in with a Sharpie before you start working, and then sharpen until all the ink has been worn away. As you work, make sure your fingers aren’t protruding past the edge of the stone.
Switching Sides
How do you know when one side of your axe is done and you’re ready to flip it over and start working on the other side? Simple—feel for a burr.
As you work one side of the axe head with the sharpening stone, a burr will raise along the edge facing the opposite side. You’ll be able to feel its roughness with your thumb. Your axe is ready to rotate when a burr has formed all along the entire edge.
At this point, remove it from the vise and turn it around so you can sharpen the other side. Or, if you’re holding the axe while you sharpen it, simply rotate it in your hands. Working this side of the blade will wear away the burr that you raised while working the first side.
Finishing Up
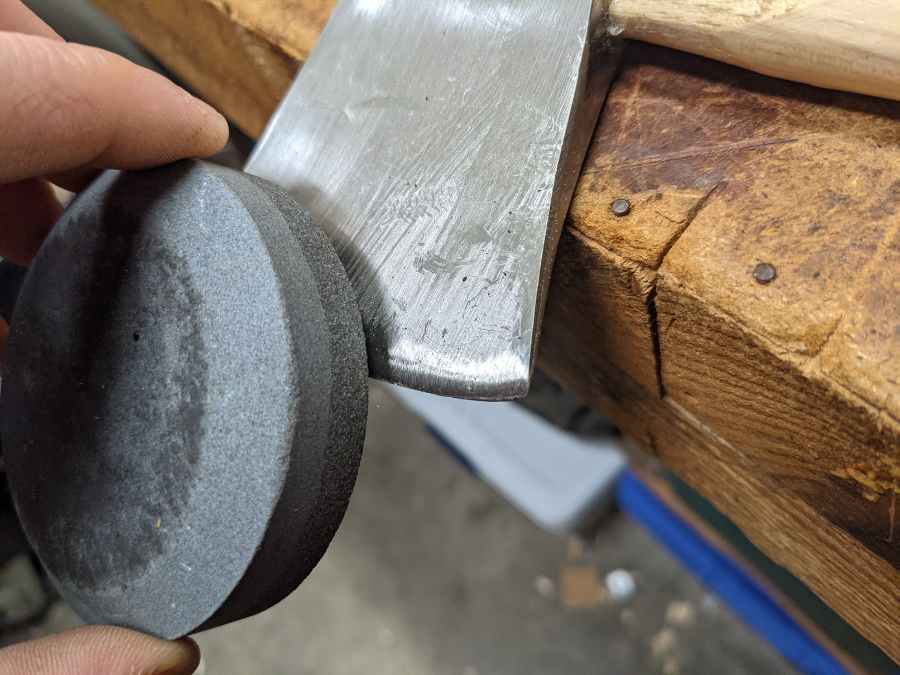
Once you’ve worked both surfaces of the axe with the coarse side of your sharpening puck, return the axe to its original position and repeat the steps above using the finer side. Each stroke removes a small amount of steel from your axe head, and the finer side is useful for getting a well-honed and polished edge.
If at any point the sharpening stone starts to make a dry, scraping sound, that usually means it needs to be wetted again with additional water or oil. You may also start to feel that the stone is moving over the axe too smoothly, which means that steel shavings have built up on the surface of the stone and need to be wiped or rinsed away.
At this point, you can call it a job well done. Your axe should be plenty sharp enough to handle any chopping or splitting you might ask of it. If you really want to polish the bit of your axe to a mirror-like shine, you can finish it on a leather strop.

Blair Witkowski is an avid watch nut, loves pocket knives and flashlights, and when he is not trying to be a good dad to his nine kids, you will find him running or posting pics on Instagram. Besides writing articles for Tech Writer EDC he is also the founder of Lowcountry Style & Living. In addition to writing, he is focused on improving his client’s websites for his other passion, Search Engine Optimization. His wife Jennifer and he live in coastal South Carolina.