
What To Do If You Get Lost In The Woods

Before you find yourself lost in the wilderness, make sure you brush up on your skills when you head out into the wild.
It’s really easy to get turned around out in the backcountry, and it’s really easy for being “turned around” to shift into being “totally, all-out lost.” If you do a lot of hiking, hunting, climbing, foraging, or whatever else in the great outdoors, these kinds of situations are almost inevitable. That’s especially true if you pursue these activities partly off-trail, but those who stick to footpaths and backroads can, of course, get very lost as well. Staying on a trail or road isn’t a guarantee you won’t lose your way, and if it’s remote, lightly trammeled country, that can put you in a tricky spot—even a survival situation.

How easy is it to get lost in the woods?
I have done several long night hikes and it really brought to mind how easy it is to get turned around…even on a trail. If you’re not paying attention to your surroundings and making a purposeful effort to make mental notes of landmarks and features, you could find yourself in a very dire situation.
On one particular trip I was hiking with two other guys and they both got turned around when we made quick pit stops on the trail. If I wasn’t keeping track closely, it would have been very easy to head off in the wrong direction. Imagine ending back at the car when you thought you were about to make camp for the night? And, honestly, that wouldn’t even be the worst of the possible scenarios!
Even seasoned outdoorspeople can lose their way or at least get mildly confused about where exactly they are. Consider this quote attributed to frontiersman Daniel Boone: “I can’t say as ever I was lost, but I was bewildered once for three days.”
Having the sense and humility to admit you’re not completely clear on where you are—that’s actually a super-important part of responding effectively. Whether you’re leading others or trekking alone, it can be surprisingly hard to admit to being turned around, and you may have a tendency to shove on in hopes you’ll just blindly blunder your way back on track without ever having to fess up (to yourself or to your hiking partners). Maybe you’ll luck out taking that approach, but it can also be a surefire way to get more thoroughly and completely off-course.
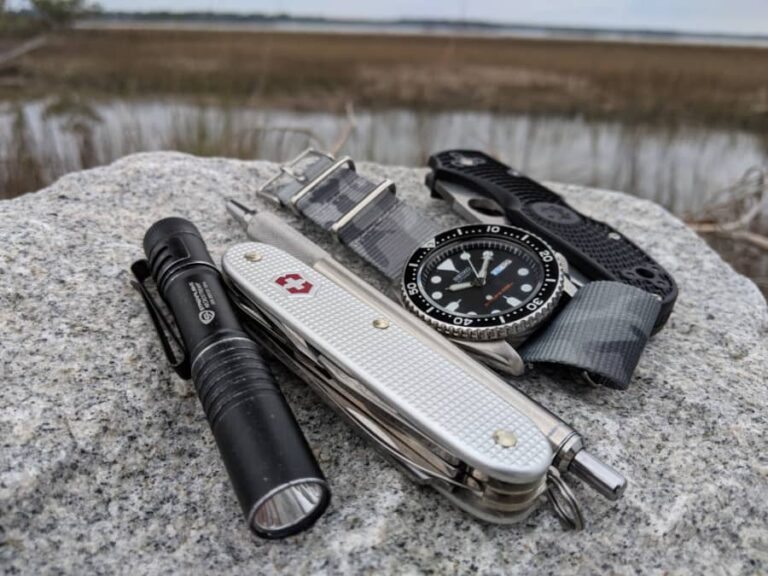
Two of the most important safety measures to take in case you get lost are actually done before you head out into the woods: (1) pack emergency survival essentials (fire-starting tools and fuel, emergency shelter, extra food, extra warm layers, first-aid, etc.) and (2) share your plans with family or friends back home so they know where you’re going and for how long.
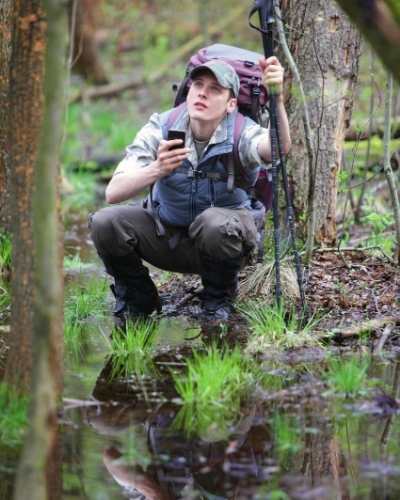
What follows is a basic approach to dealing with being lost on foot in the backcountry, and not necessarily having cell reception or a GPS unit to fall back on.

The S.T.O.P. Approach
S for Stop: Panic is usually your primary enemy when you find yourself off-course. It can compel you to start walking desperately in all directions, trying to cut a trail or a road. That may end up getting you all the more lost, needless to say. So experts recommend stopping when you realize your predicament. Take a break, eat a snack or two, breathe deep. There’s an excellent chance you’ll be able to refind your way; even if you can’t, there’s a good chance you’ll be found fairly quickly if you’ve shared your route information. You’re unlikely to be that far away from known geography. As best you can—relax.
T for Think: Do your best to remember when you last knew where you were on the map and the landmarks you most recently registered (stream crossings, trail junctions, mountain peaks, etc.).
O for Observe: Take stock of your surroundings. See if a little calm study of the landscape and your topo map doesn’t clarify your position. Look for high places you might be able to scout from (or try to get a signal from), check the weather, gauge how much daylight you have left.
P for Plan: Decide what next to do based on what you’ve recalled and what you’ve observed. If you think you can retrace your steps, you can give that a try (following the tips below). If you’re still pretty befuddled, it’s usually better to stay put. You can continue trying to collect useful information and attempt to signal rescuers, and meanwhile your fixed position will increase the chances anybody looking for you based on the route information you shared will be successful.
But if the weather’s threatening or your position is otherwise dangerous (a steep, crumbly mountainside, for example), get to a more secure spot. Even if you didn’t pack extra food, that’s not the pressing issue: water is much more immediately important. If you’re going to be staying put for a bit, identify the nearest water source.
Moving to Get Yourself Back on Track
Depending on your topo and landscape study and what you remember of the leadup to becoming lost, you may decide to hike your way “back onto the map,” so to speak. But this should be undertaken carefully to avoid compounding your lost-ness (and reducing the chance you’ll get injured, which ups the ante of your situation). Keep in mind, too, that this kind of scouting around is best done (for obvious reasons) with plenty of daylight to play around with; if it’s late evening, you may well decide to set up camp and wait until the morning to strike off.
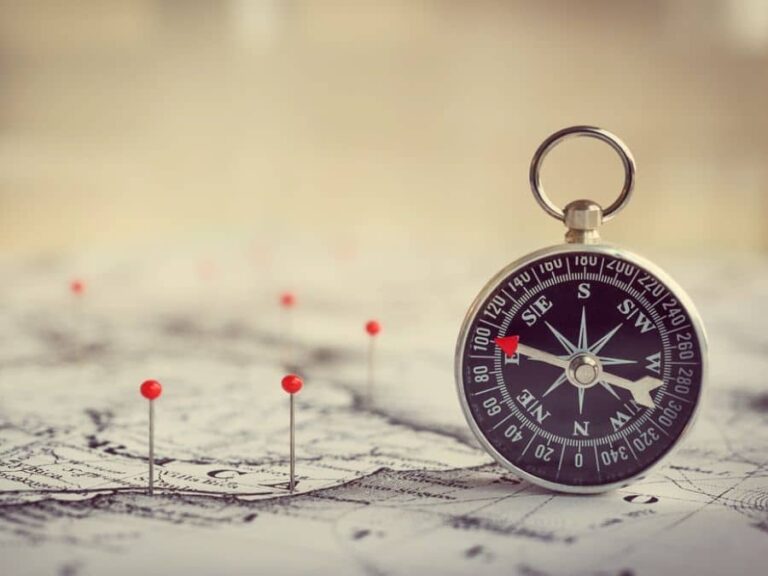
Here’s where your compass once again proves its worth, big time. You can use it to exactly track your scouting route in case you fail to orient yourself and need to backtrack to the place where you initially realized you were lost. This becomes an important basepoint. Registering an obvious landmark at that basepoint or marking the site somehow helps you relocate it along with the compass.
One great approach to scouting when lost that David Seidman recommends in The Essential Wilderness Navigator is first trying straightline, out-and-back hikes, and then (if necessary) executing an expanding “square-spiral” foray. Initially, walk out from your basepoint some distance in a straight line, using the compass to maintain that course and returning to your starting point by the back bearing if you don’t stumble upon an identifiable landmark. Do this in each direction.
If that doesn’t turn anything up, you can explore farther and more extensively by setting out on a straightline course, recording your bearing and the distance you cover (counting steps, say, or logging time elapsed), then making a right-angle turn using the compass and walking another leg, then making another 90-degree turn, and so on. In this way you can assess the hinterland around your basepoint via what Seidman calls “the square spiral.”
By keeping to set compass courses and logging how far or long you’ve walked, you should be able to backtrack safely, if necessary, to your basepoint at any time. Especially if you dutifully took the S.T.O.P. approach when realizing you’d gone astray, this kind of meticulous searching (with a safety net) has a good chance of yielding an identifiable landmark or other clue as to your location.
If it doesn’t, however, you might then decide to focus on hunkering down in place and signaling potential rescuers. This can be done with a smoky signal fire; SOS symbols spelled out on the ground with brightly colored clothing or gear—or with stones or branches—where they can be seen from the air; a signaling mirror or other reflective tool; and/or SOS whistle blasts, to name a few techniques.

A Few Miscellaneous Tips for Using Natural Clues to Orient Yourself
If you’re turned around in the great outdoors, there are often plenty of natural clues you can key into to help clear up your confusion. Keep in mind, though, that some widely touted ways to steer yourself based on the natural landscape are actually of limited value or outright wrong. Following a creek or river downstream under the impression it’ll lead to civilization isn’t at all a surefire technique, for example: you may be in for miles and miles of tortuous bushwhacking in some canyon tributary network, risking injury in difficult or semi-inaccessible terrain; and, furthermore, in larger wildlands there’s no guarantee a downstream route will get you to a populated area anytime soon. Also, to squelch another frequent navigational misnomer, moss doesn’t only grow on the north side of trees and boulders.
More useful is telling direction from natural signs if you don’t have a compass. Stick a trekking pole or branch into the ground in the late morning—as straight as possible—and use another object to mark the end of its shadow. Wait for the shadow to shift to the other side of the object and grow to the same length, then mark that end.
Make a straight line between the two objects and then gauge where a straight line drawn from the base of the pole or stick crosses the first line at its midpoint: The line from the pole or stick will be oriented north-south, and pointing north where it hits the midpoint of the line between the two objects.
Another way to find north and south from the sun (if you’re stuck out for a couple nights) is with a watch. If you can record the times of sunrise and sunset, you can then divide the day length in half to calculate the time of solar noon (which is usually not the same as clock-time noon). At solar noon, shadows are oriented north-south, so check at the designated time and you’ll have your cardinal directions established.
At night, Polaris—the Earth’s current “North Star”—clues you in to directional north. It’s actually a pretty faint, unassuming-looking point of light, but its isolation and stationary position make it easy to identify. The best way to find Polaris is to extend the line made by the rightmost two stars of the Big Dipper—those making the front of the cup—“up” above the Dipper, as they point directly to Polaris: The North Star will be above them at about five times the distance between those two pointer stars. (By “up” and “above,” we mean in relation to the top or rim of the Big Dipper, which rotates around the North Star through the night and thus will sometimes be above Polaris, but upside down.)
Another handy locational clue given by Polaris: its height above the horizon in degrees matches your latitude. To roughly gauge this, hold your fist at arm’s length with your knuckles to one side and the top of your hand facing you. Your fist will cover about 10 degrees.
Measuring how many fists fit between the skyline and the North Star gives you a loose estimate of your latitude. The prominent winter constellation Orion (The Hunter) rises directly in the east and sets directly in the west, as it lies right along the celestial equator. The rightmost of the three stars of Orion’s belt, Mintaka, is the most accurate to use for this. Unless you’re super-familiar with the entire look of the constellation, it’s easiest to mark west this way, as Orion rising is harder to pick out than Orion setting. Watch where Mintaka hits the horizon, and you’ll have a pretty sturdy reckoning of due west.
I know many of you are thinking about that cellphone you carry or GPS that is strapped to your backpack. When you are in the wilderness or backcountry, you have to be prepared for gear failure. That is exactly where the “two is one and one is none” phrase comes from.
Just like you need a backup pocketknife, you need a backup way to navigate. Knowing how to get back on the trail or to a location you are familiar with can be a life saving skill to know. So, next time you find yourself lost in timbuktu, STOP and make a plan.

Blair Witkowski is an avid watch nut, loves pocket knives and flashlights, and when he is not trying to be a good dad to his nine kids, you will find him running or posting pics on Instagram. Besides writing articles for Tech Writer EDC he is also the founder of Lowcountry Style & Living. In addition to writing, he is focused on improving his client’s websites for his other passion, Search Engine Optimization. His wife Jennifer and he live in coastal South Carolina.