How to Sharpen a Machete
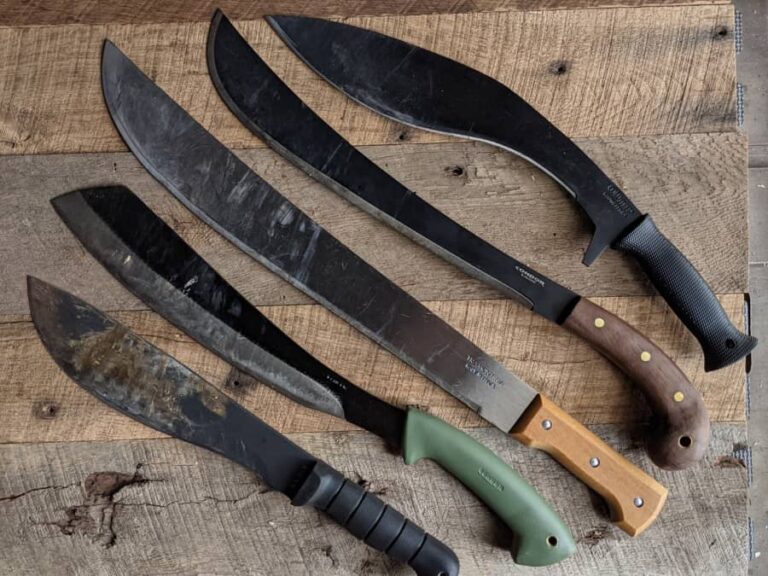
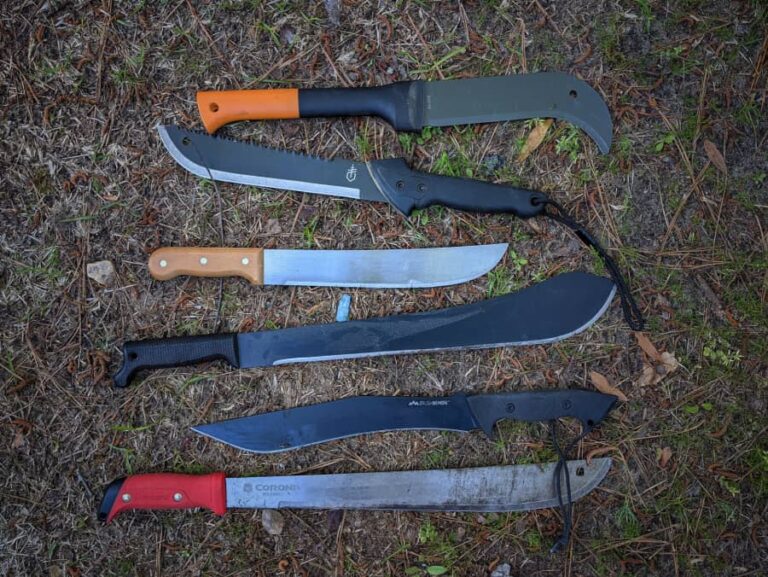
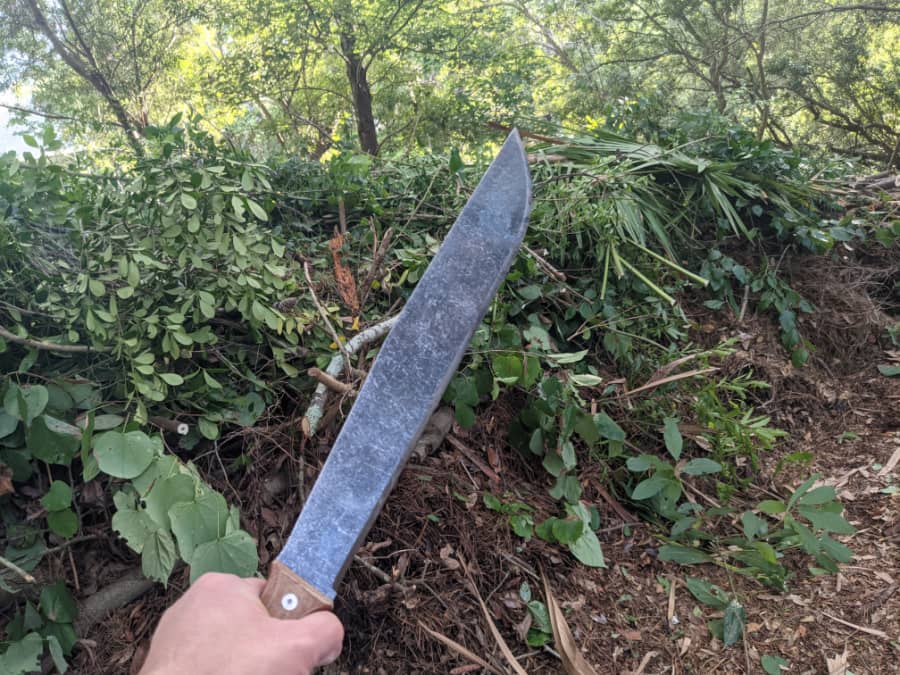
There aren’t many tools that go through more wear and tear than a machete. Whether you use one for hacking through the jungle, harvesting crops, or keeping the woods from reclaiming your backyard, the time will come when your trusty machete will need to be sharpened.
Budget-friendly machetes often become dull shockingly quickly, while higher-end machetes are made of better quality steel that should retain an edge longer. Even so, it’s a simple fact of life that no blade stays sharp forever.
When the time comes, don’t be one of those people who simply throws out their old, dull machete and buys a new one. Learn how to sharpen a machete correctly, and you’ll have a skill that can be useful throughout your lifetime.
Blade Angles and Grinds
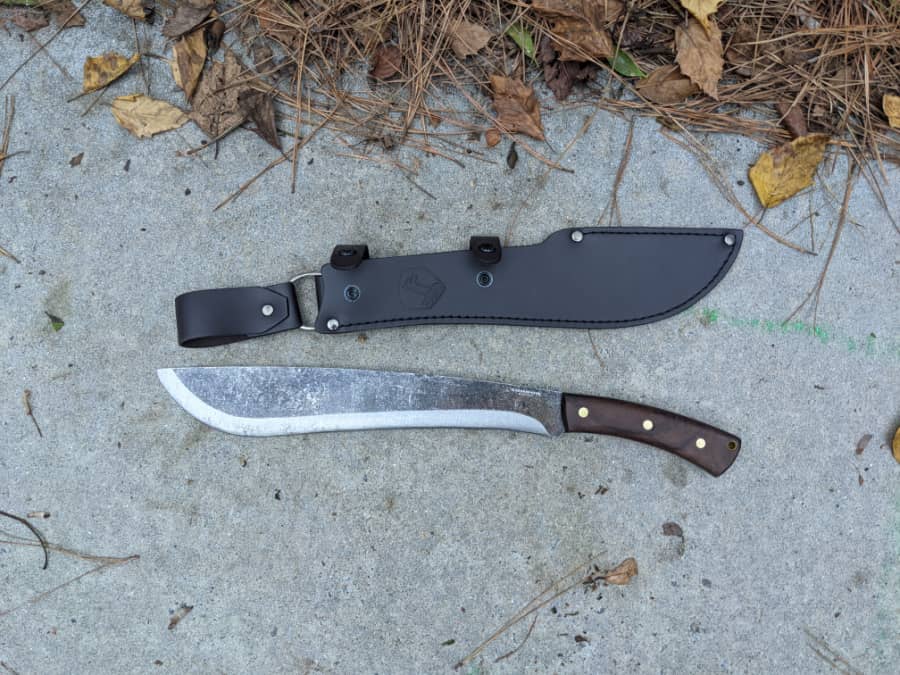
If you have a machete that needs to be sharpened, the first thing you should do is look at the blade grind and angle. Most machetes have a pretty straightforward flat grind, which makes them quite easy to sharpen.
Some may have a convex grind, which is slightly rounded as it tapers to the point. Certain machetes also have a chisel grind, which is essentially a flat grind that is only ground on one side instead of both. These are perhaps the easiest of all to sharpen, though you will have to carefully remove the burr once you’ve sharpened the one side.
After checking the grind, take a look at the grind angle. Generally speaking, you don’t need to know the exact angle, and in most cases you can simply sharpen your machete along the factory grind angle that it came with, unless you want to change it, or your machete is so old and worn-out that the original grind angle is difficult to see.
As a general rule, a slimmer grind angle (about 25 degrees) is more effective for cutting light materials like grass and weeds. A somewhat wider grind angle (up to about 35 degrees) will make the blade stronger for cutting through denser materials like wood.
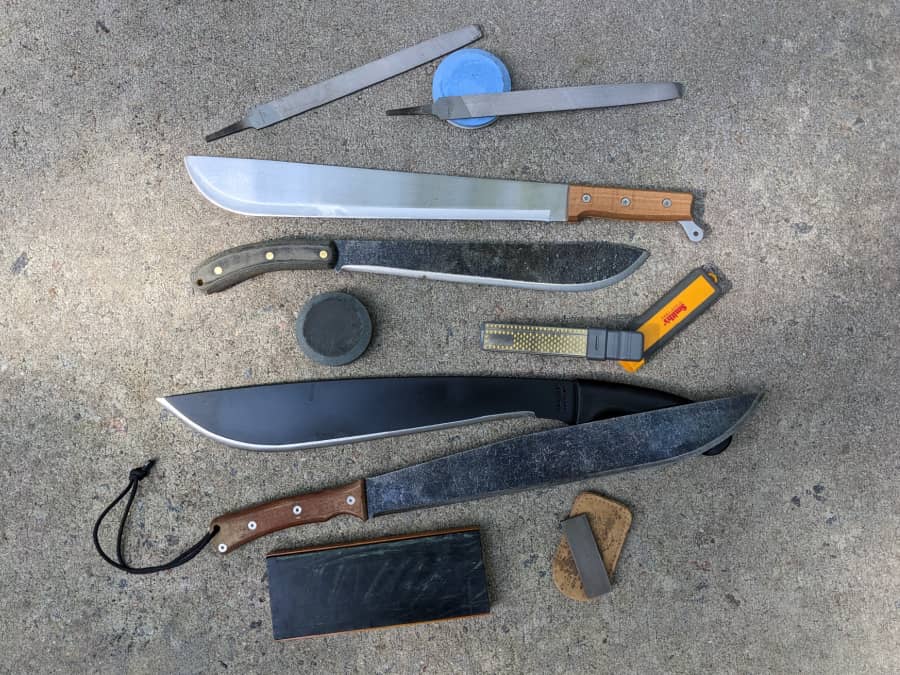
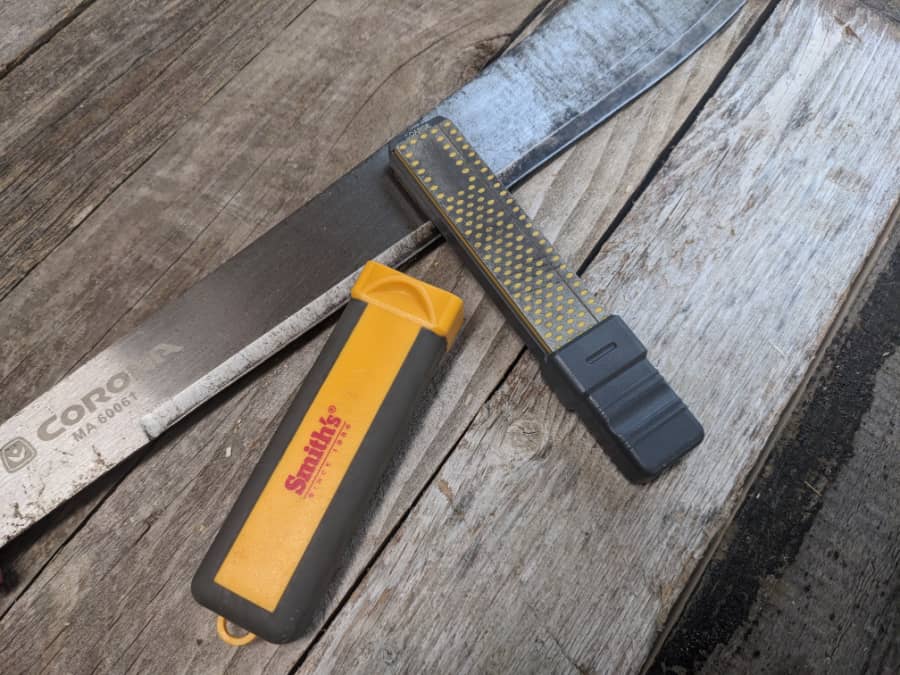
Tools for Sharpening a Machete
As you probably already know, there are multiple methods to sharpening a machete, and multiple tools with which you can sharpen it. I’ll describe my preferred method in full detail a little further down, but first, let’s take a look at each of the options.
Sharpening with a Belt Sander
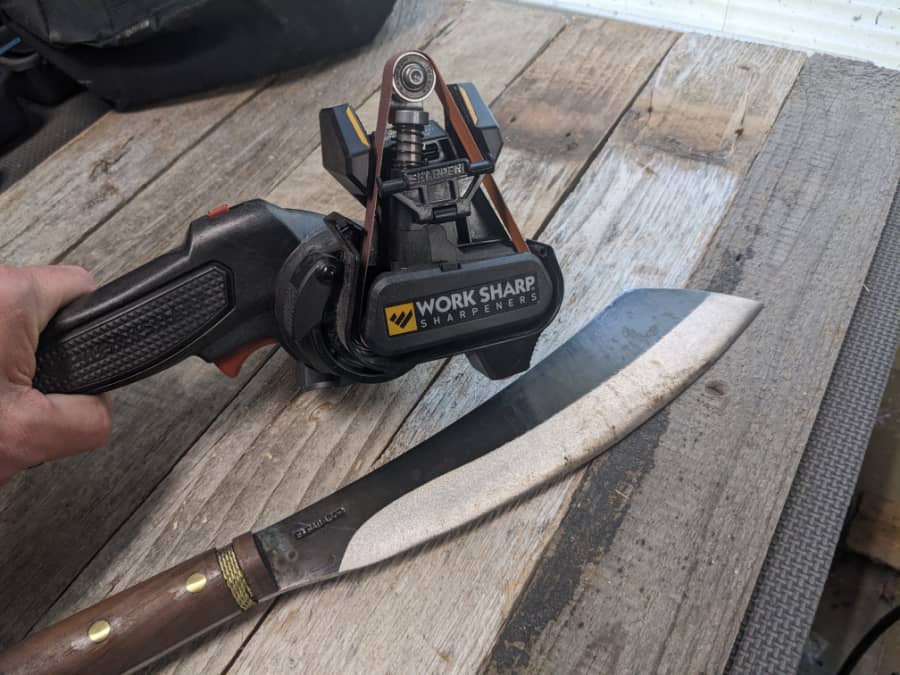
A belt sander is quite possibly the fastest and easiest way to sharpen a machete. It’s especially good for getting a consistent convex grind. For best results, use light pressure and start with a 150-grit belt. After running both sides of the blade across the belt multiple times, stop and switch to a finer 240-grit belt. For an even finer finish, switch again after that and repeat the cycle with a 400-grit belt.
There are a couple of things to be aware of with a belt sander. The first is that sharpening a machete this way can generate a lot of heat, especially if you apply too much pressure. Have water handy to cool your blade as needed and avoid damaging it. The second is that the sander can yank the blade right out of your hands if you start it up too fast and aren’t paying close enough attention. You don’t want that.
Sharpening with a File
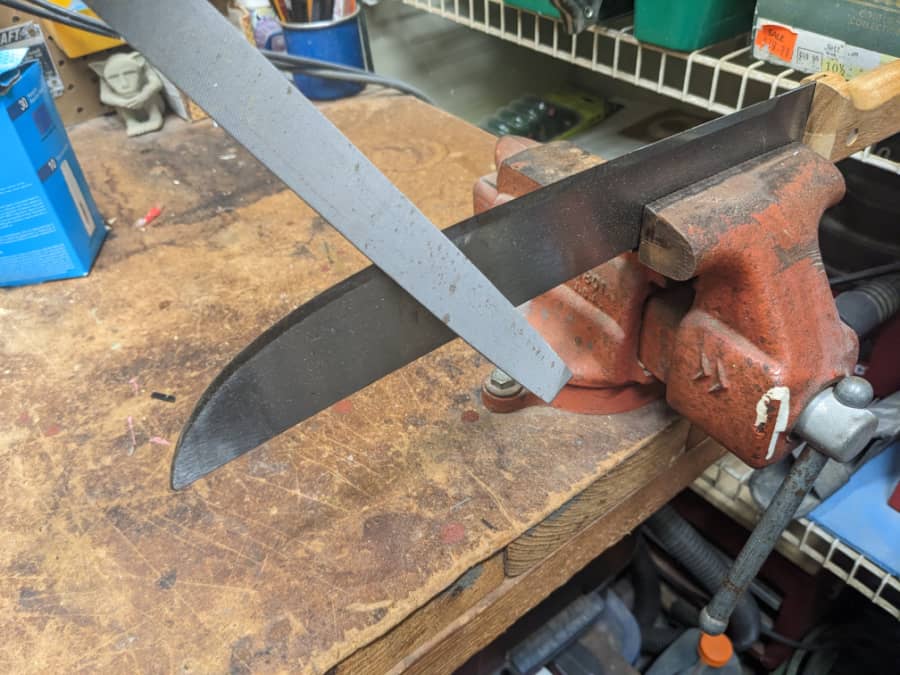
One of the main arguments against sharpening a blade with a belt sander is that there’s no real art to it. So if you want to learn a method that takes a little more finesse, sharpening your machete with a file is a great option. Sharpening with a file is also quite beginner friendly. It’s easy to learn, and you can do it practically anywhere with just a simple, inexpensive tool.
A mill file or bastard file is the most common type of file for sharpening a machete. To do so, you can either hold the machete securely in your non-dominant hand with the cutting edge facing up, or—better yet—use a vice to truly secure the blade at the proper angle. Most files have two different sides, so you can start with the coarser side and then switch to the finer side. For best results, finish with a honing rod afterward.
Sharpening with a Whetstone
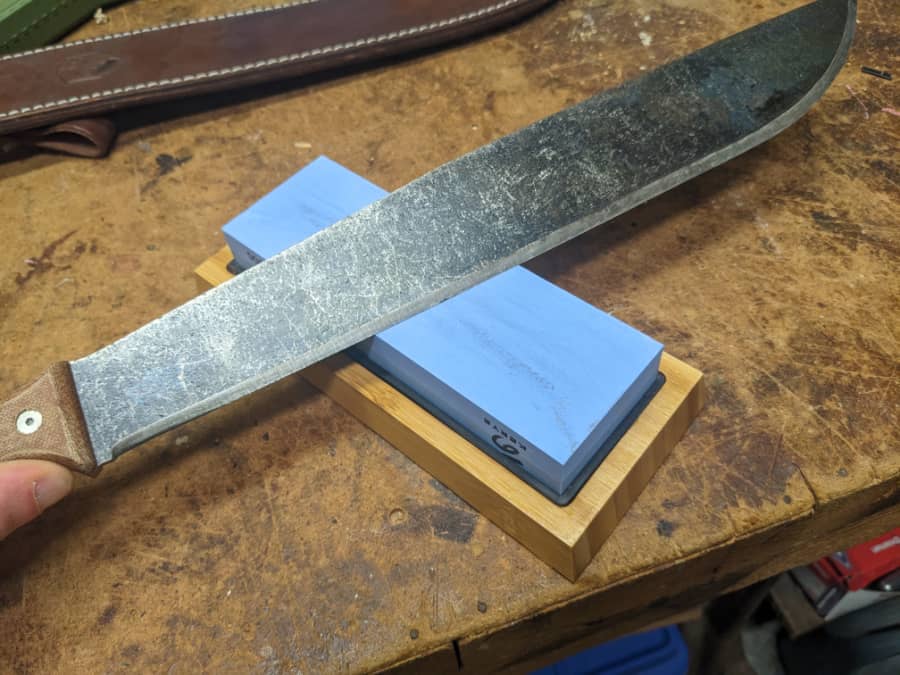
A whetstone or sharpening stone is a classic sharpening tool, and there are quite a few different variations of it that can be used to sharpen a machete. These are traditional tools that are inexpensive and beginner friendly.
Whetstones fall into a couple of different categories. There are stones that remain stationary while you move your blade across them, and there are handheld stones that are meant to be moved across the blade while the machete itself is secured in place. For what it’s worth, I find handheld whetstones to be better for machetes, while stationary whetstones feel a bit awkward, and better suited to smaller knives.
Sharpening with a Grinder
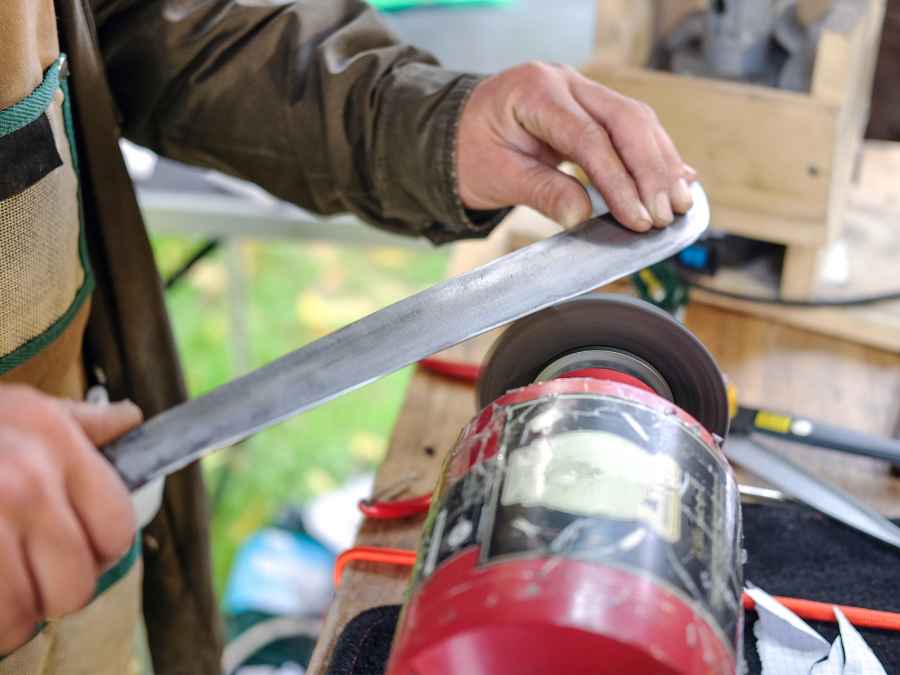
Grinding wheels have been used as sharpening tools for ages. The old-fashioned ones were hand- or foot-powered, but today’s grinders are electric, and considerably more efficient than their predecessors. Grinders can sharpen a machete very quickly, though there’s some debate over whether they’re really the best method.
The main argument against a grinding wheel is that it’s very aggressive, and it takes experience to really use one well. One bad move, and a grinder can destroy a blade. They’re commonly used by professionals, and might not be the best option for a layperson. It’s also worth mentioning that even after sharpening your blade with a grinder, you’ll still want to pass over it with a fine sharpening stone and/or honing rod to give it a cleaner finish.
Sharpening with a Dremel
A dremel is a handheld power tool with a rotating sharpener at the end. It looks a bit like an electric screwdriver. Getting an even grind on a machete with a Dremel is quite tricky, and requires skill and concentration. It’s a better option for removing small isolated dull spots and imperfections rather than sharpening an entire blade.
Sharpening a Machete: Step By Step
Let’s take a closer look at how to sharpen a machete one step at a time. The method outlined below is generally effective with any handheld sharpener. I love using a sharpening stone like a Lansky Puck, but with only slight modifications, the following steps apply to sharpening with a file as well.
Step 1: Gather Your Materials
Whatever method you choose, make sure you have everything you need within arms’ reach before you begin. If you’re using a whetstone, that includes a bowl or pail of water to wet the stone with as needed. Take a moment here to clear your work area of clutter as well, and clean the edge of your machete before you begin.
Step 2: Secure Your Machete
If you’re sharpening your machete in the field, the best way to hold it is with the handle under the crook of your non-dominant arm with the cutting edge facing up. If you’re at home in your shop or garage and have access to a vise, that’s even better. Clamp the machete securely in the vice with the edge facing up at an angle that is comfortable to work with. Use something soft like cloth between the vice and the blade to avoid damaging the finish.
Step 3: Learn the Motions
Time to start sharpening! This starts with getting the motion down, which will feel a little different depending on the tool you’re using. With a handheld stone like the Lansky Puck, grip it firmly in your dominant hand in such a way that your thumb and fingers are not protruding over the edge. Place the stone against the cutting edge of the machete, match the angle of the grind, and then move the stone from the hilt to the tip while making smooth, circular motions and maintaining a consistent angle.
If you’re using a file, the motion will feel a little different. You’ll want to run the file along the blade in such a way that you are pushing the file across the grind toward the cutting edge while also moving it down the length of the blade.
Step 4: Switch Sides
Unless your machete has a chisel grind, you’ll need to sharpen both sides of the cutting edge. You may also notice that a burr has formed after sharpening the first side. Once you’ve gone over one side thoroughly, either rotate the machete in the vise or reposition it in your non-dominant hand, and repeat the previous step on the second side.
Step 5: Hone the Edge
Many sharpening stones are dual-grit, which is to say that they are coarser on one side and finer on the other (a standard Lansky Puck has a 120 grit course side and a 280 grit fine side). For the best results, it’s best to go over each side of your machete first with the coarser side of the stone, and then again with the finer side. The duller your machete is to start with, the more important this is.
Step 6: Polish the Edge (Optional)
Not everybody takes this extra step, but it is a good idea. After doing over both sides of your machete with increasingly fine grit, the edge should be plenty sharp. But there may still be a bit of a burr or rough edge, and going over it one final time with a leather strop to polish the edge will remove these and leave you with a razor-sharp edge that has a mirror-like shine to it.
How Sharp Should a Machete Be?
I’ll put this as simply as I can. A machete should be sharp, and don’t let anybody tell you differently. Some people like to say that a machete doesn’t need to be that sharp—I hear the same thing all the time about axes—and I just don’t buy it.
A good way to know if your machete is sharp enough is the paper test. Hold a sheet of paper firmly between your fingers in a vertical position. Slide your blade downward through the paper. If your machete is sharp enough to slice cleanly through the sheep of paper, it’s sharp enough to do the same through foliage.
A Note on Curved Blades
Straight edges are the easiest to sharpen, but it goes without saying that most machetes are not perfectly straight. Most of them, at the very least, curve upward toward the point at the end, and some may be curved for a significant portion of their length.
The best advice I can give about sharpening the curved portions of machete blades is to go slowly at first, and focus on the way the sharpening stone or file feels as it moves along the edge. It’s just one of those things you get a feel for in time.
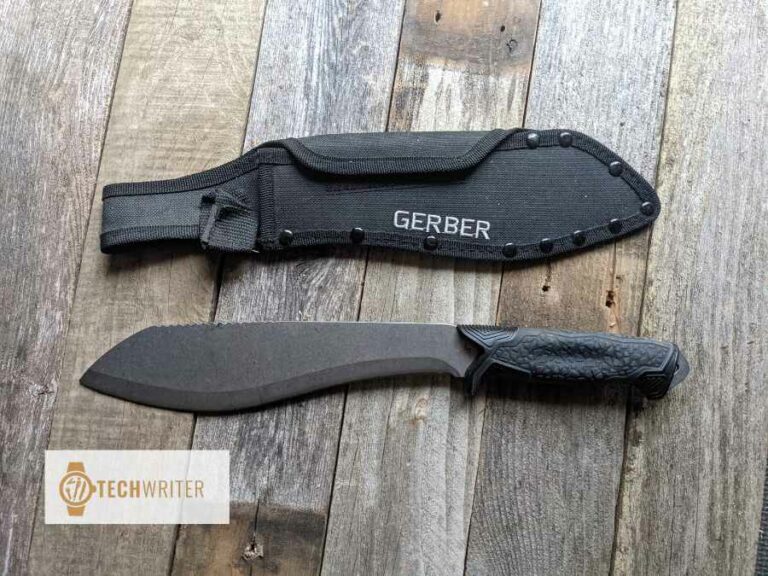
The most difficult machetes to sharpen are those that have recurve blades, such as kukris. The cutting edge of a kukri blade has an S-shaped curve to it, and the recurved section can be quite challenging to sharpen using conventional methods. The best way I’ve found to tackle these curves is with a cylindrical sharpening stone or sharpening rod.

Blair Witkowski is an avid watch nut, loves pocket knives and flashlights, and when he is not trying to be a good dad to his nine kids, you will find him running or posting pics on Instagram. Besides writing articles for Tech Writer EDC he is also the founder of Lowcountry Style & Living. In addition to writing, he is focused on improving his client’s websites for his other passion, Search Engine Optimization. His wife Jennifer and he live in coastal South Carolina.