How To Navigate In The Wilderness
Finding Your Way In The Backcountry: Basic Navigation Tips and Skills You Need To Know
In so many aspects of our lives, a few too many of us could probably be described as over-reliant on gadgetry. That is to say, if our go-to gadgetry fails—the smartphone, the laptop, the thermostat—we’re at a bit of a loss as to how to execute everyday functions.
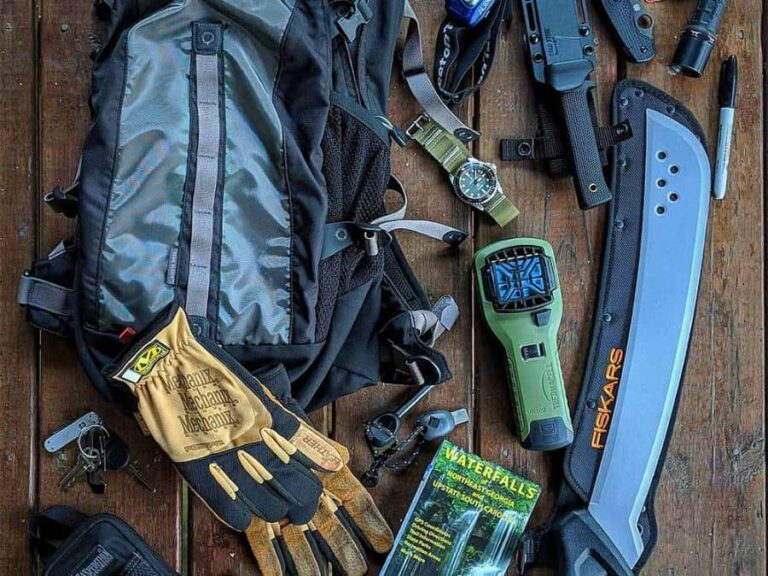
That’s certainly true of many outdoor recreationists, who these days head off into the backcountry expecting to find their way solely by app or handheld GPS receiver, and to signal for help, should trouble arise, via cellphone or emergency beacon. All of these resources are great—don’t get us wrong—but they don’t replace the old-fashioned paper map and compass, nor general-purpose wilderness savvy, when it comes to ensuring you’re being as prepared and as responsible as possible out there.
In this article, we’re going to run down some fundamentals of backcountry-navigation 101—just a casual survey, really, but enough to either get you started for further learning or refresh your memory—and then dig into the subject of getting lost, and getting back on track.
The Importance of Learning How to Navigate in the Backcountry
One of the reasons many of us seek out the wilderness (and the semi-wilderness of the frontcountry) is to reacquaint ourselves with the sort of primal world we humans used to spend a heck of a lot more time immersed within. Even in the most developed parts of the U.S., there are “pocket wildernesses” and pseudo-wildernesses that are tucked-away enough, scruffy enough, removed enough from blacktop and strip mall to excite our sense of adventure—and, yes, to get a bit turned around in if we’re not careful.
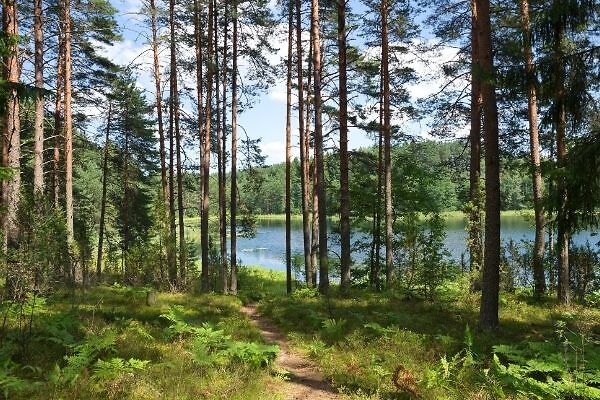
The long and the short of it is that we’re still lucky enough here in North America to have lots of remote lands open to public exploration and recreation. In these places—and they don’t have to be giant mountain or desert wildernesses, mind you—we have to rely on our own common sense, skills, and know-how to stay safe to a greater degree than many of us need to in our workaday lives.
You can easily get off-track even in a relatively small acreage, especially in low-relief countryside with few prominent landmarks: flatland woods, swamps, open steppeland or desert.
You can get lost in a heavily used state park or forest laced with roads and trails. And if you’re unprepared for some extra time spent out in the woods—maybe even an overnighter you didn’t expect to make—you can quickly get into dicey situations even on what seems like a pedestrian dayhike, especially in inclement weather.
Now, none of this is meant to be fear-mongering or overly dramatic; it’s the simple reality imposed by less-traveled country, and a reminder to pack diligently and keep a clear head. All things considered, the backcountry isn’t more dangerous than your everyday geography; the truism about the drive to the trailhead or the campground being, on average, the riskiest part of an outdoor experience is pretty darn sturdy.
Far too many people hiking, camping, hunting, and fishing out in the backlands, however, aren’t fluent enough in finding their way without the aid of a GPS or smartphone. You can get away with that for years of outdoor recreation—heck, some will get away with it for a lifetime. But knowing how to navigate with a map, compass, and natural signs, and being ready to follow the proper course of action if you find yourself lost, will give you that much more confidence in your adventuring—and it just might save your life someday.
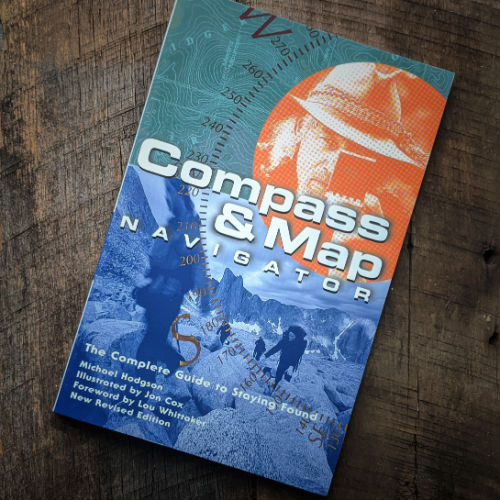
The Importance of Using a Topographic Map & Compass
We said right at the outset how valuable GPS units and smartphone mapping apps are. They put incredible navigational finesse in your hands and, when working properly, can not only keep you on course, but can also exactly relay your location to others in case you run into trouble. Treat these as wonderful new outdoor tools and use them liberally if they jibe with your sensibilities.
The problem is only using them, and not knowing how to truly read a topographic map or utilize a compass. Because software can hiccup, batteries can fail, wireless signals can be hard to come by. Even if you rely on digital wayfinding as your primary means, you should bring along a paper map and a compass as backup and understand how to put them to good use.
Topo Maps
Learning Map Navigation Skills
For anybody doing serious outdoor recreation, a topographic map is a must. Basic planimetric maps that depict the landscape as flat, such as many simple road and trail maps do, certainly have their place, and for a short ramble on a well-signed, frontcountry footpath they’ll see you through just fine. But for anything much more ambitious—and certainly for any long-distance trail hikes or outings involving cross-country travel—a “topo” is essential.
In the Lower 48 states, the U.S. Geological Survey 7.5-minute series of topo maps, which have a 1:24,000 scale—one inch on the map equaling 24,000 on the ground—are generally the most useful for outdoorspeople. These days, you can download digital versions and create your own customized maps centered exactly on the area you’ll be recreating in. But, again, we recommend also printing out or purchasing paper topos so you have those hard copies as failsafes in case modern technology fritzes out on you.
Topos include all sorts of information useful for navigation, including basic land cover and the location of springs and other water sources. Their greatest value, though, comes in their depiction of topography via contour lines: lines of equal elevation.
Contour lines (also called contour indices) are printed thicker than the others and are labeled with the elevation value. The bottom of the topo will identify the contour interval, which is the difference in elevation between any two consecutive contour lines.
Between the contour index and the labeled contour indices, you can reckon the height above sea level of any point on the map—including your location.
You can also gauge the terrain depicted by paying attention to how the contour lines run. Contour lines well spaced out—with elevation changing very gradually over distance—indicate gentler topography; densely packed contour lines reveal a steep slope, maybe a sheer cliff.
Contour lines that “point” to higher elevations reflect a ravine or canyon, while those that point to lower terrain portray a ridge.
Simple stuff, really, but remarkably powerful. Besides helping you plan your route, the contour lines of a topo can help you match the country you’re seeing before you to the map: very useful if you’re not quite sure where you are.
Our Personal Favorites!
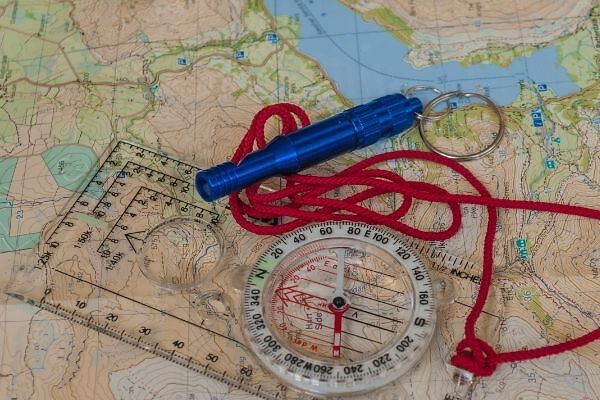
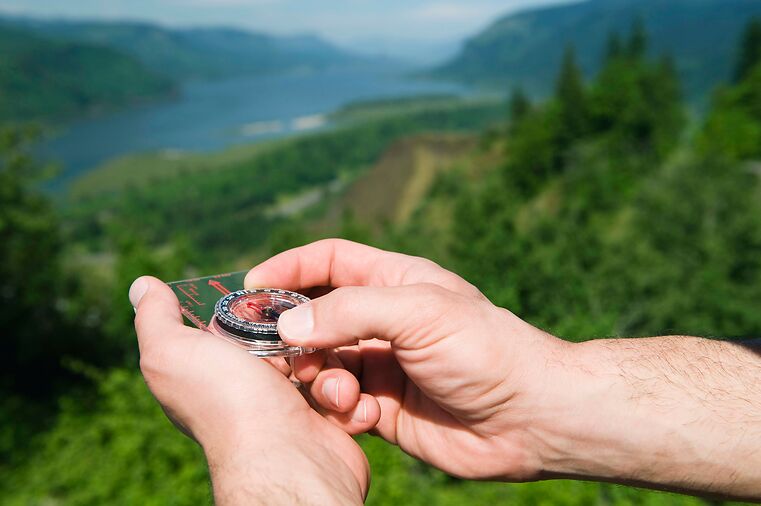
Compasses
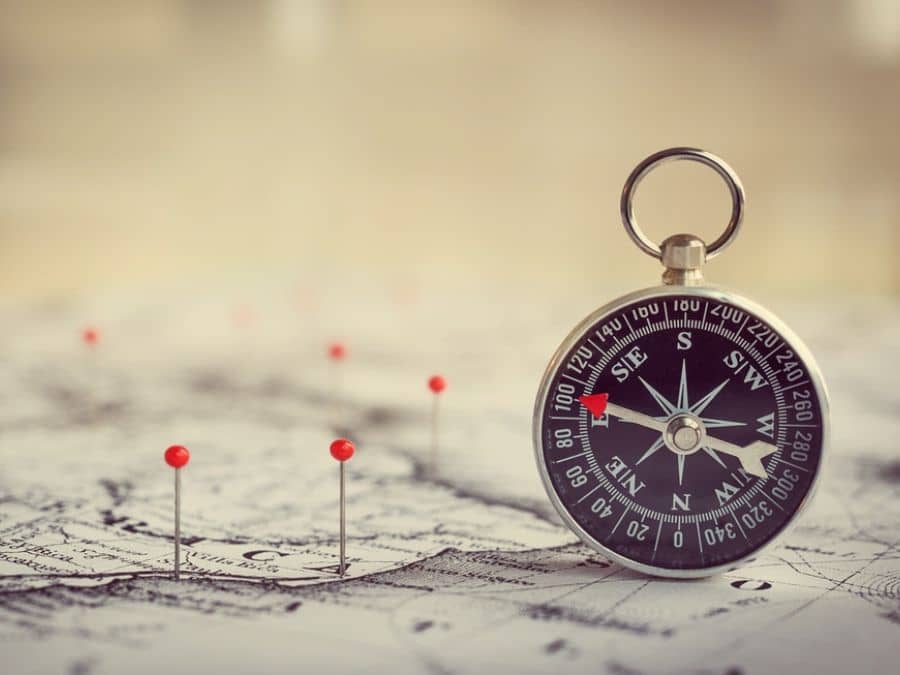
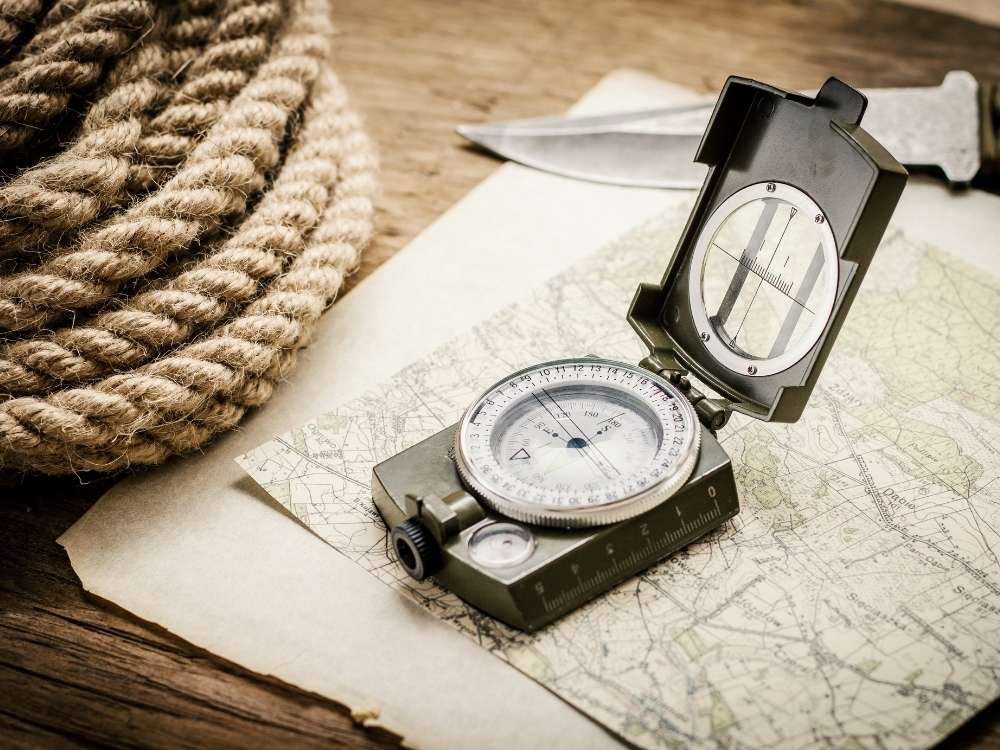
Learning To Navigate With A Compass In The Wilderness
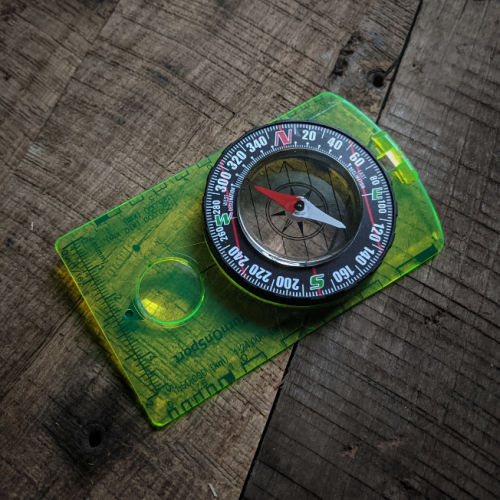
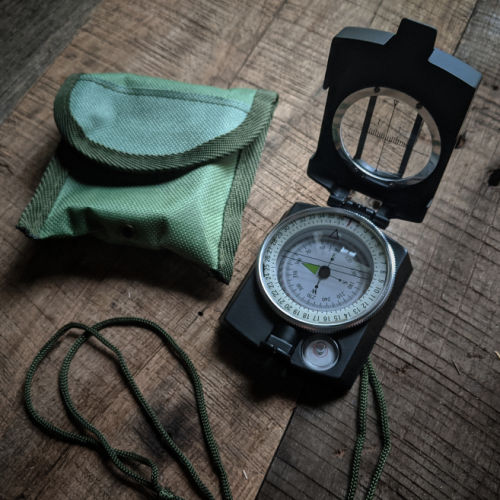
Spend a little extra for a baseplate compass with a rotating bezel: the most useful kind for outdoor recreation, especially if it comes with a hinged sighting mirror.
A compass allows you to identify landmarks in your field of vision. It allows you to walk a straight line—a task nearly all of us ultimately flunk at doing without the help of such an aid. (As we’ll get into, keeping yourself on a straight course and making exact 90-degree turns thanks to a compass helps you execute one technique for getting yourself un-lost.) It means you can set directional bearings to reach destinations you can see, and to those you can’t see but know are there from the map. With a compass, you can confidently navigate when you’re socked in with mist or fog—or socked in with nighttime darkness.

Your compass gives you the ability to take and to follow bearings, both from the landscape and from a map. (Remember that in order to use your topo and compass together in most parts of North America you must correct for declination, which is the difference between the map’s geographic north–or “true north”—and the compass’s magnetic north.
High-quality baseplate compasses usually give you the ability to adjust the declination on the tool, so you can “set it and forget it” for the given area you’re recreating in.)
You can measure your direction in relation to a landmark by taking a bearing from it: point your baseplate compass’s direction-of-travel line at the landmark, turn the bezel until the orienting arrow lines up with the needle’s north end, and read the angle—your bearing—on the dial where it hits the direction-of-travel line.
Now, obviously, if you’re heading for a landmark that’s in plain view across the entire intervening distance you don’t really need to take a bearing. But in many cases we lose sight of our destination during the journey: heading into thick timber in between, for example, or finding that extensive foothills or canyon systems block our view of a target peak as we close in on it. That’s when you need to rely on a bearing to ensure you’re on the right course.
Following the very same methodology for taking a direct bearing, except aligning the south end of the needle with the orienting arrow instead of the north end, gives you the reciprocal or back bearing, which identifies your position in relation to the landmark. If you don’t know exactly where you are, that’s a helpful line to measure. A just-as-easy way to calculate a back bearing is simply to obtain the direct bearing, then add 180 degrees (if the direct bearing’s less than 180 degrees) or subtract 180 degrees (if it’s more) to generate the reciprocal value.
You might also happen to know a bearing you should follow from a particular point in the field. To plot that course, hold the compass level in front of you—chest-level, say. Turn the compass dial so that the desired bearing aligns with the direction-of-travel line, then shift your body so that the north end of the needle matches the orienting arrow of the compass: that’s the way to go.
To identify the exact bearing to follow between your position and a mapped destination, place the edge of your baseplate compass—again, one corrected for declination—between your location and the desired landmark on the map.
Then rotate the dial so that the compass’s meridian (or orienting) lines align with the vertical lines of your topo, ensuring that the orienting arrow points toward the top side of the map as you do. The bearing read where the dial intersects the direction-of-travel line is yours.

How to Hold Your Map When Navigating in the Backcountry
It may seem a trivial point: how you look at your map when hiking or hunting or otherwise recreating out in the wilds. But it’s worth thinking about, because it can be surprisingly difficult, even for seasoned outdoorspeople, to translate between the country before you and the terrain depicted on your topo. Whatever you can do to make that translation clearer and quicker to perceive is valuable when it comes to staying on track.
A basic way to read your map is always with the top of it facing upwards. That works for many map-readers, but it means unless you’re traveling due north, the map, as you study it, won’t orient exactly with the landscape. You can orient it with the landscape by aligning it with mapped, identifiable landmarks within view. That entails shifting it on a regular basis whenever you consult it, but it’s inherently more intuitive.
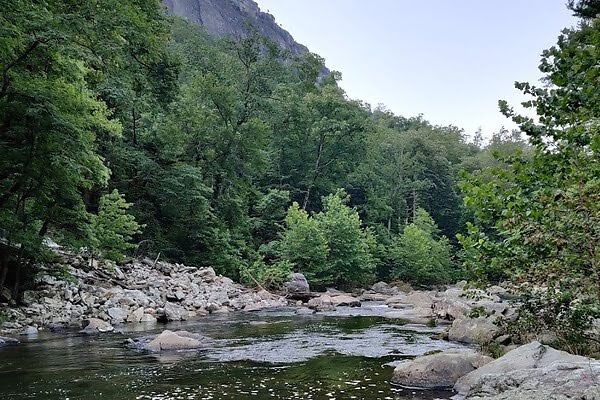
Smoothing Out Wayfinding in the Backcountry: Using Handrails & Catchlines
If you’re traveling cross-country, it’s impractical to be constantly consulting your compass to make sure you’re following your desired bearing. With a little map study, you can often identify geographic features—whether natural or manmade—that can help you stay on course without all that nitpicky compass-checking. For example, you’ll often be able to track along a river, a linear mountain ridge, a road, a powerline clearing, or a fence that’s roughly aligned with your direction of travel, using it as your crutch—or, in orienteering terms, your “handrail”—to ensure you’re going the right way.
“Catchpoints” or “catching features,” meantime, are landmarks identified in advance from the map that alert you to pull away from the handrail you’ve been using in order to keep to your course. They can be just about anything: a road or trail intersection, a stream confluence, the point where that handy-dandy ridge subsides into the lowlands.
Handrails aren’t the only helpful linear feature on the landscape that can make navigation easier and more secure. “Catchlines” are another: roads, trails, rivers, mountain fronts, fencelines, marked jurisdictional boundaries, etc. that “catch” you as you’re trying to navigate to a discrete point. This involves a strategy known as “aiming off”—or, a bit more formally, “intentional offset.” Let’s say you’ve parked along a backroad, headed out bushwhacking, and now want to get back to your car.
You know the proper bearing, but it’s all too easy to stray a few degrees one way or another and end up at the road, but not exactly at the vehicle—and not knowing which way to turn to find it. But if you purposefully aim, say, 20 degrees off in one or the other direction and follow that offset course, you’ll know just what direction to veer once you hit the catchline. (While aiming off, be sure to always detour around obstacles favoring the direction of the offset to make sure you’re sticking to the same side of your destination.)
As you have been reading through this guide, I hope you have come to the realization how important a compass is and knowing how to use it. I am only fair with a compass and I made it a goal for this year to become very proficient. Not just for safety, but I saw a YouTube documentary on a few adventure races that are mostly off trail and you can’t use GPS!
So, whether you are taking up orienteering or find yourself deep off trail on your next hike, I hope you have a little better understanding of what it takes to get your bearings and get home safe.

Blair Witkowski is an avid watch nut, loves pocket knives and flashlights, and when he is not trying to be a good dad to his nine kids, you will find him running or posting pics on Instagram. Besides writing articles for Tech Writer EDC he is also the founder of Lowcountry Style & Living. In addition to writing, he is focused on improving his client’s websites for his other passion, Search Engine Optimization. His wife Jennifer and he live in coastal South Carolina.